Server Access · Setup guide
How to connect an SSH server to your AI worker with Outloop
Connect your server once. Give your AI worker approved access to run commands, manage files and maintain WordPress websites without exposing your private SSH key.
Outloop creates and protects the private key on your Mac. You install its public key on the server, authorize the correct Workspace and give the worker a task. Connections open when needed.
Open Server Access
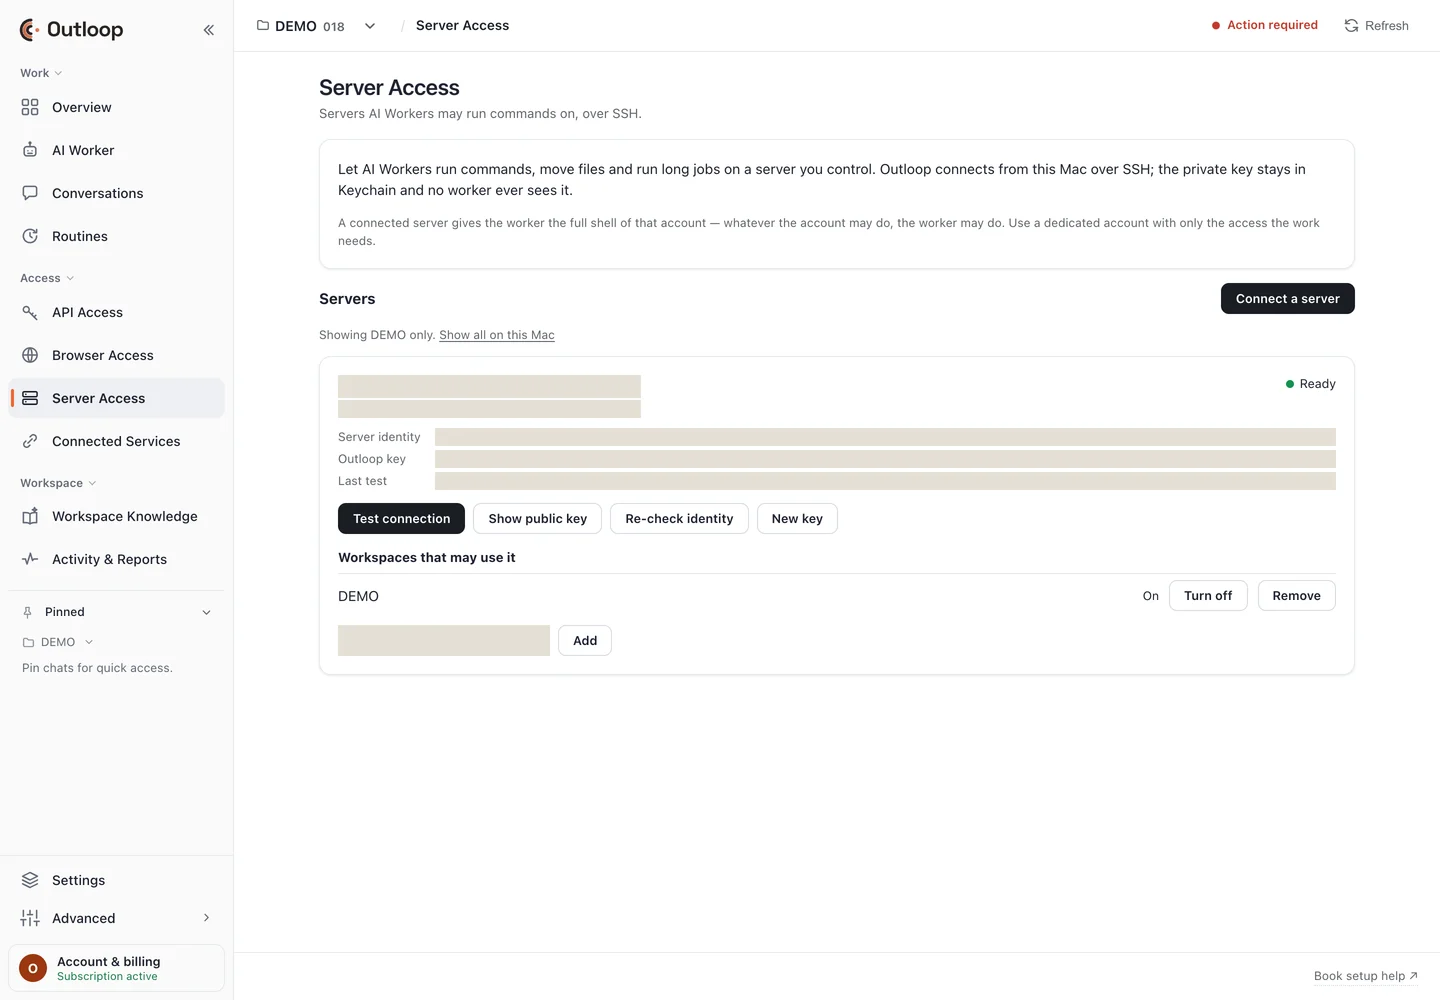
In the Outloop sidebar, choose Server Access under Access. Select Connect a server.
Have a company-controlled Mac, an SSH-enabled hosting account and an authorized staging target ready. Ask your provider for the server address, SSH port, account name and trusted host fingerprint.
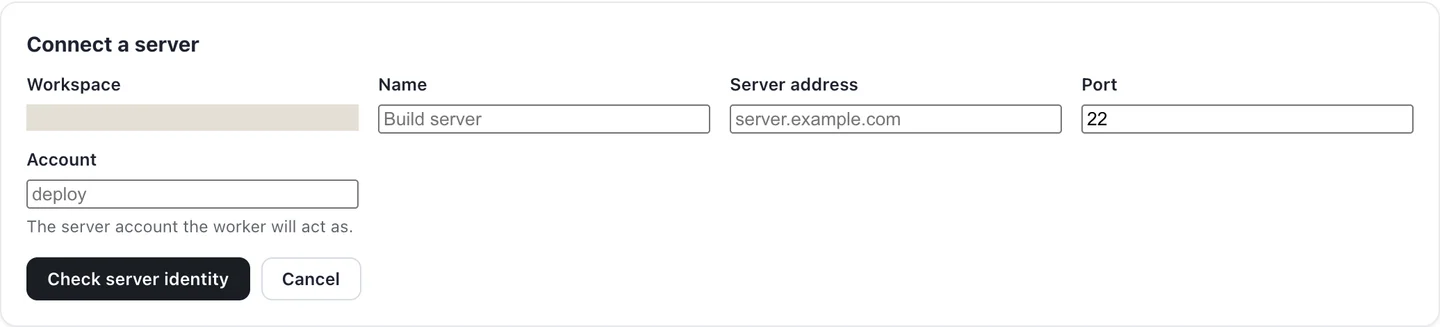
Enter server details
Select the intended Workspace. Give the connection a recognizable Name, then enter Server address, Port and Account.
The address identifies the server. The port identifies its SSH service. The account determines the authority the worker receives. Obtain the values from your hosting administrator rather than assuming a default port or using the website administrator login.
ScalaHosting/SPanel and cPanel installations may expose SSH settings differently. Confirm shell access is enabled for the intended account.
Verify server identity
Choose Check server identity. Compare the returned fingerprint with one supplied through your trusted hosting console or administrator. Confirm the exact server and fingerprint before trusting it.
If the fingerprint differs unexpectedly, stop and investigate. A server rebuild or key rotation can explain a change, but an unexpected change must not be accepted automatically.
Create the SSH key in Outloop
Use Outloop’s key-creation flow after verifying the server identity. Outloop keeps the private key in its protected host infrastructure. The public key is the part to give the authorized server administrator.
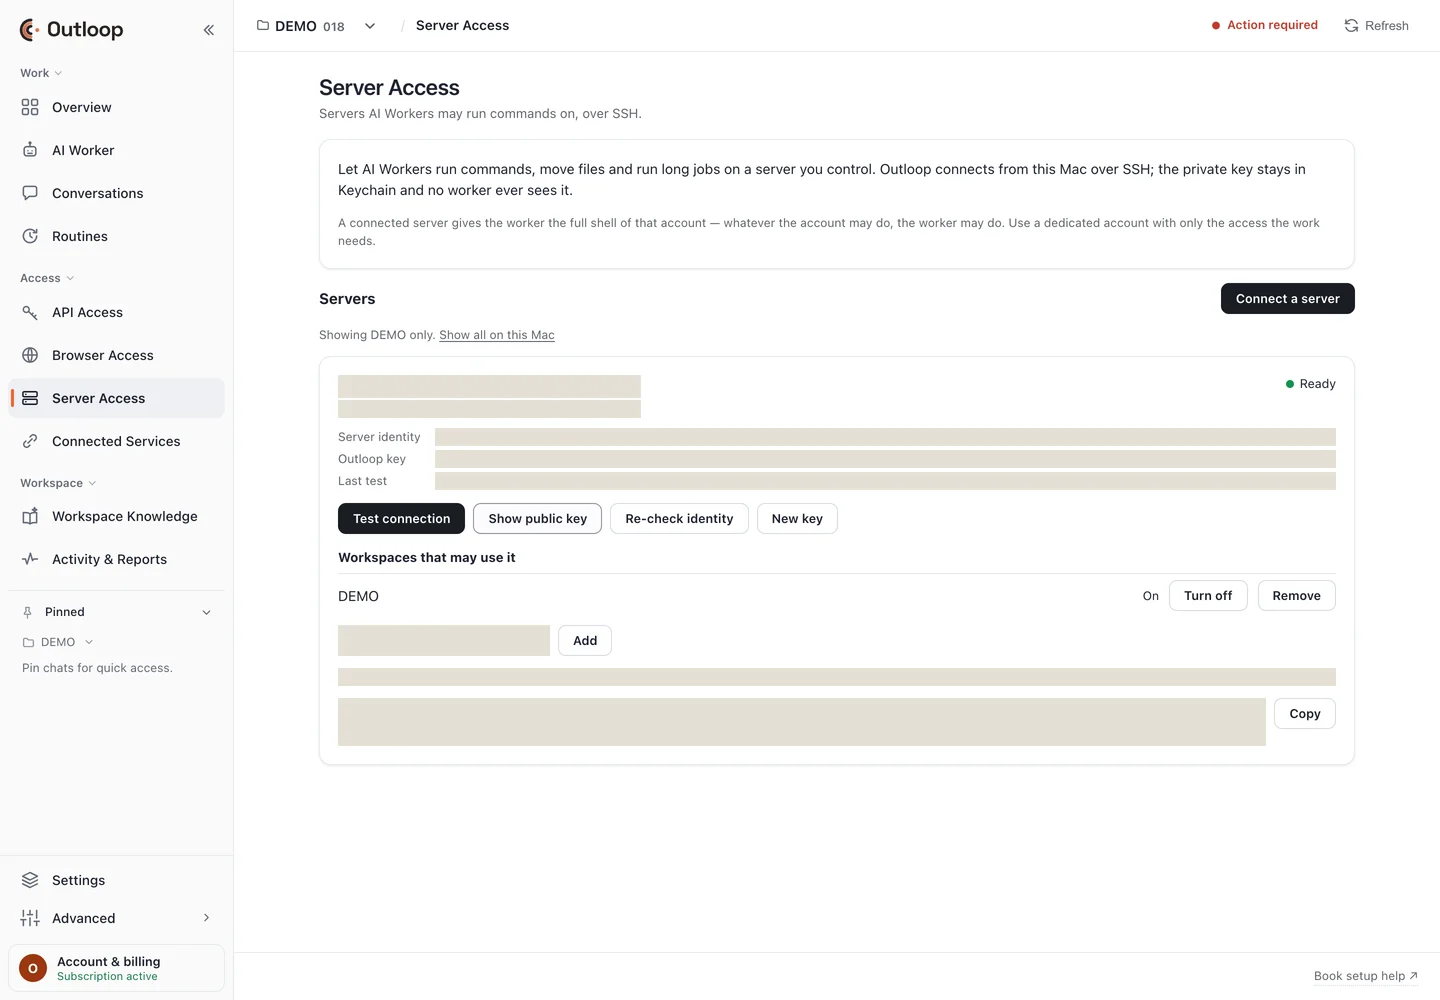
On an existing connection, Show public key reveals the public key with a Copy button. The screenshot shows that real existing-key screen.
Authorize the public key on the server
Ask the hosting administrator to install the copied public key for the intended SSH account. In a hosting panel, use its public-key import and authorization workflow. Some panels require an additional authorization action after import.
For a directly managed account, the administrator can add the complete public-key line to that account’s ~/.ssh/authorized_keys, with ownership and file permissions appropriate for its SSH configuration. Keep the key on one line. Follow your provider’s account-specific instructions. cPanel documents importing and authorizing public keys; ScalaHosting documents enabling SSH in SPanel.
Installing this public key permits authentication as the remote account. Outloop retains the private key on your Mac.
Test and authorize the Workspace
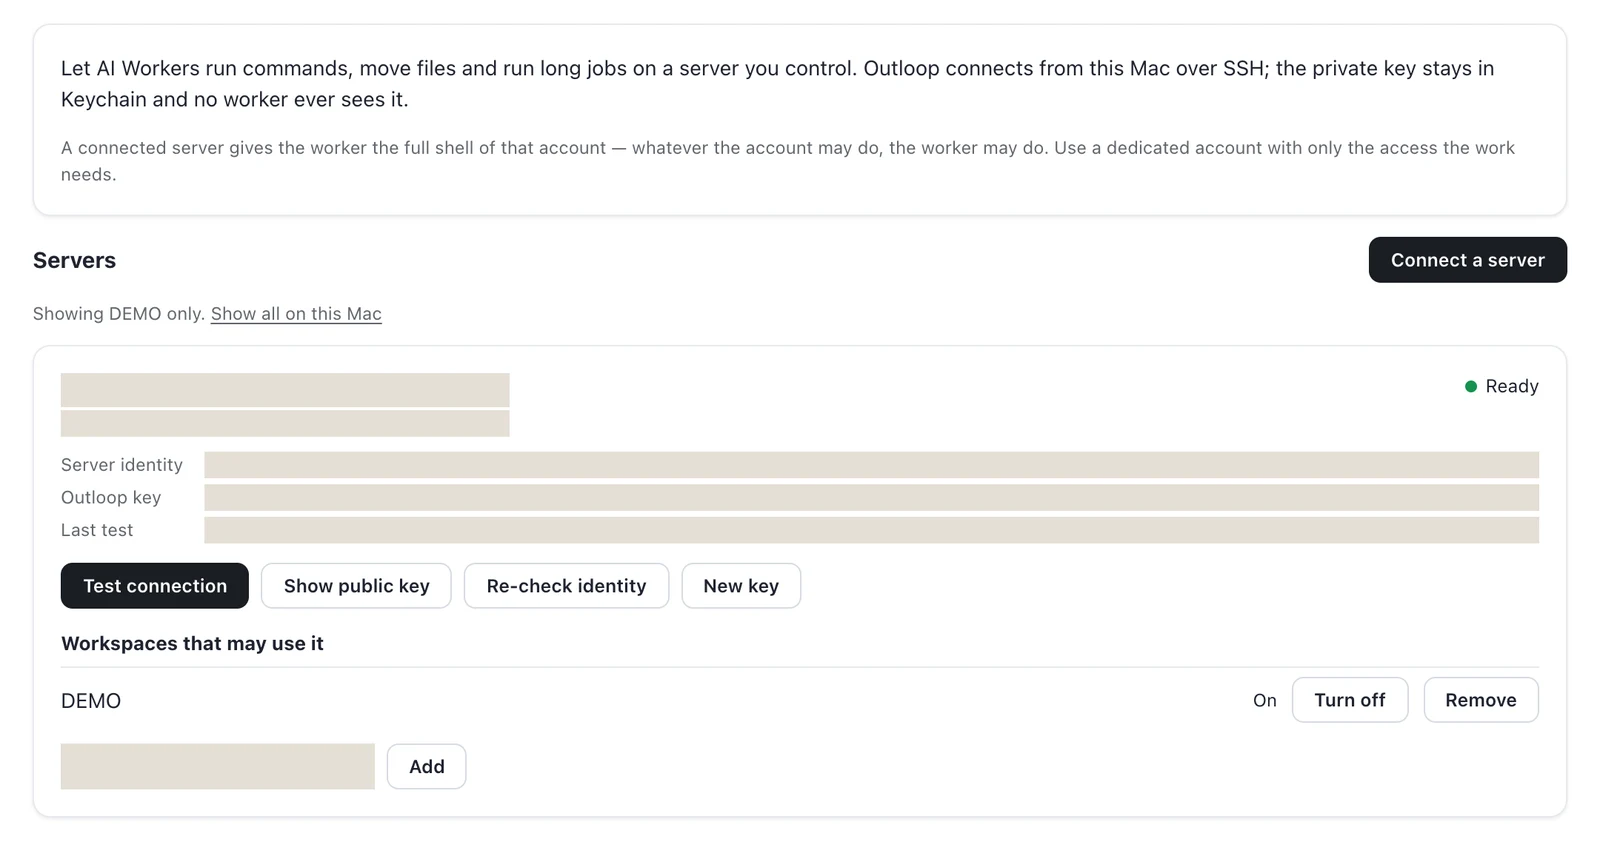
Select Test connection and inspect the result. The reviewed connection displayed Ready, an OK last test and long-job tracking.
Under Workspaces that may use it, select the intended Workspace and choose Add when needed. Confirm it is On.
Workspace authorization controls use of the connection. Server account permissions separately control files, databases and commands.
Give Ollie a verifiable first task
In the intended client Workspace, open AI Worker. Supply the approved staging target through its context, then use this inspection-only brief.
Use only this Workspace’s approved SSH connection and the authorized WordPress staging installation. Discover the available connection and confirm the intended staging target. If either is ambiguous, ask before proceeding. Perform a read-only inspection: identify the remote account and working directory, check whether WP-CLI is available, and report the WordPress version and plugin inventory from the confirmed installation. Do not read credential files, dump environment variables or databases, change files, update plugins, submit forms or touch production. Report each check and its result, available execution references, and anything you could not verify. If execution is interrupted, inspect status before retrying.
Check that the report names the correct environment, distinguishes successful checks from unknowns, and provides the available execution record. Verify the reported result before authorizing changes.
Manage access and troubleshoot
- After restarting the Mac
- Open Outloop, check connection readiness and test before continuing. Confirm any interrupted job’s outcome separately.
- Server unavailable
- Check the address, port, network reachability and whether the host is running SSH. A timeout does not establish whether an earlier task finished.
- Host identity mismatch
- Verify the new fingerprint with your administrator before using Re-check identity to establish trust again.
- Permission denied or public-key failure
- Confirm the account, installed public key, panel authorization and SSH filesystem permissions. An SSH account can differ from a WordPress login.
- Interactive password prompt
- Use the supported key-based path. Resolve password-only or interactive authentication with the provider before running an unattended task.
- Long job interrupted
- Inspect job status and server state before retrying. Record uncertainty if you cannot prove completion.
- Disable access or rotate
- Turn off or Remove a Workspace’s access to the connection. Coordinate New key with installing the replacement public key and retiring the old server authorization. Verify revocation and active-job behavior for your installed release.
What can your AI worker do next?
- Diagnose WordPress errors and inspect selected logs.
- Create, duplicate and update pages, copy and SEO metadata.
- Edit templates, CSS, JavaScript and animations.
- Transfer files and verify their integrity.
- Use installed WP-CLI, Git, scripts and deployment tools.
- Perform authorized database inspection and maintenance.
- Operate separately authorized client servers.
- Combine server work with approved browser and API access.
Each task depends on the remote account’s permissions, installed tools, WordPress architecture and authorization.